
I often sit back and think….. ‘What ever happened to the days when we used to go to our local camera store to buy a few rolls of film for an upcoming product photo shoot’?
Product photographs are an essential aspect of marketing, they always have been and always will be, it involves creating attractive and accurate images of products to showcase their features and benefits to potential customers. In today’s digital age, product photographers have access to advanced cameras, software, and tools that make their job easier and more efficient. However, this was not always the case.
Before the advent of digital cameras, product photographs were captured using film cameras, lights, reflectors and a whole plethora of techniques and tricks to get that perfect image. The process of capturing and processing product images involved several steps, including pre-production, production, and post-production. In this article, we will explore how product photography was done back in the days of film, before digital cameras existed.
Pre-Production
Pre-production is the planning and preparation phase of product photography. In the days of film, this involved scouting for locations, gathering props and equipment, selecting lighting setups, and testing camera settings. The photographer would work with the client to determine the product’s specifications and how it should be presented. Once everything was in place, the photographer would start shooting.
Production
During the production phase, the photographer would capture the images using a film camera. They would set up the product in the desired location and use different lighting setups to create the desired effect. The photographer would then take multiple shots of the product from different angles, making sure to capture all the necessary details. Since film cameras did not offer instant previews, photographers had to rely on their experience and technical skills to get the perfect shot.
Post-Production (The most time consuming part)
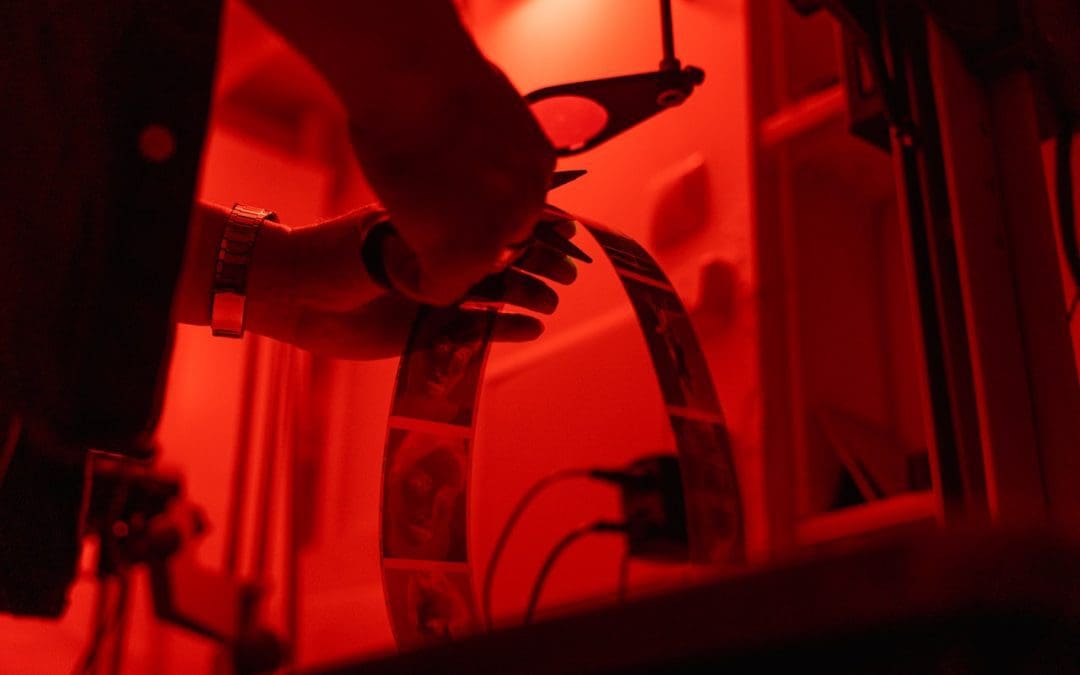
The post-production phase involved processing the film negatives to create prints. This was a time-consuming and delicate process that required specialized equipment and skills. The negatives would be developed in a darkroom, where the photographer would use chemicals to create the image on the film. The prints would then be edited by hand to remove any blemishes or imperfections.
These are all the darkroom steps involved;
- Developing the film: The first step in the post-production process for film photography is to develop the film. The film is immersed in a series of chemical baths, which brings out the latent image and makes it visible. The developed film is then hung to dry.
- Making a contact sheet: Once the film is dry, a contact sheet is made by placing the film onto light-sensitive paper and exposing it to light. This produces a print that shows a small version of each image on the film. The contact sheet is used to choose the best images to print.
- Enlarging the negatives: Once the images are selected, the negatives are enlarged using an enlarger, which is a specialized piece of equipment that projects the image onto light-sensitive paper. The size of the print is determined by the distance between the enlarger and the paper.
- Adjusting the contrast: Once the image is projected onto the paper, the contrast can be adjusted by using filters. A higher contrast filter will produce a darker print, while a lower contrast filter will produce a lighter print. This process is done to make sure the final print looks like what the photographer visualized.
- Dodging and burning: Dodging and burning is a technique used to adjust the exposure in specific areas of the image. Dodging involves blocking some of the light from specific parts of the image during the printing process, which lightens those areas. Burning, on the other hand, involves exposing specific parts of the image for a longer period of time to darken those areas.
- Chemical development: After the dodging and burning process is complete, the paper is submerged in chemical baths to develop the final image. The chemicals used in this process vary depending on the type of paper and desired result.
- Drying and trimming: Once the print is developed, it is hung to dry and then trimmed to the desired size.
In conclusion, editing photos taken with film involves a series of traditional darkroom techniques that require a high level of skill and expertise. While the process can be time-consuming, the result is a unique and hand-crafted image that cannot be replicated with digital technology.
Today, product photographers have access to digital cameras that offer instant previews, high resolution, and easy editing capabilities. However, the principles of pre-production, production, and post-production remain the same. Product photographers still need to plan and prepare for each shoot, set up the product, and use lighting and camera techniques to create the desired effect. Post-production now involves editing digital images using software like Photoshop or Lightroom.
In conclusion, product photography has come a long way since the days of film. While digital cameras and software have made the process faster and more efficient, the core principles of good photography remain the same. Product photographers still need to plan and prepare carefully, pay attention to details, and use their technical skills to capture the perfect shot. With the right equipment, creativity, and attention to detail, product photographers can create images that showcase a product’s features and benefits, and help businesses succeed in today’s competitive market.