To wrap things up, here are the main things to remember to make your next photoshoot a success. These points cover the journey from getting to know your camera to making your photos look their best.
Key Takeaways
- Get comfortable with your camera’s settings like shutter speed, aperture, and ISO to have full creative control.
- Learn to see and use light effectively, whether it’s natural or artificial, to make your subjects look great.
- Plan your photoshoot beforehand by thinking about your style, location, and what you want to achieve.
- Communicate well with your subjects to get natural-looking poses and make everyone feel comfortable.
- Develop a workflow for editing your photos and organising them so they look polished and consistent.
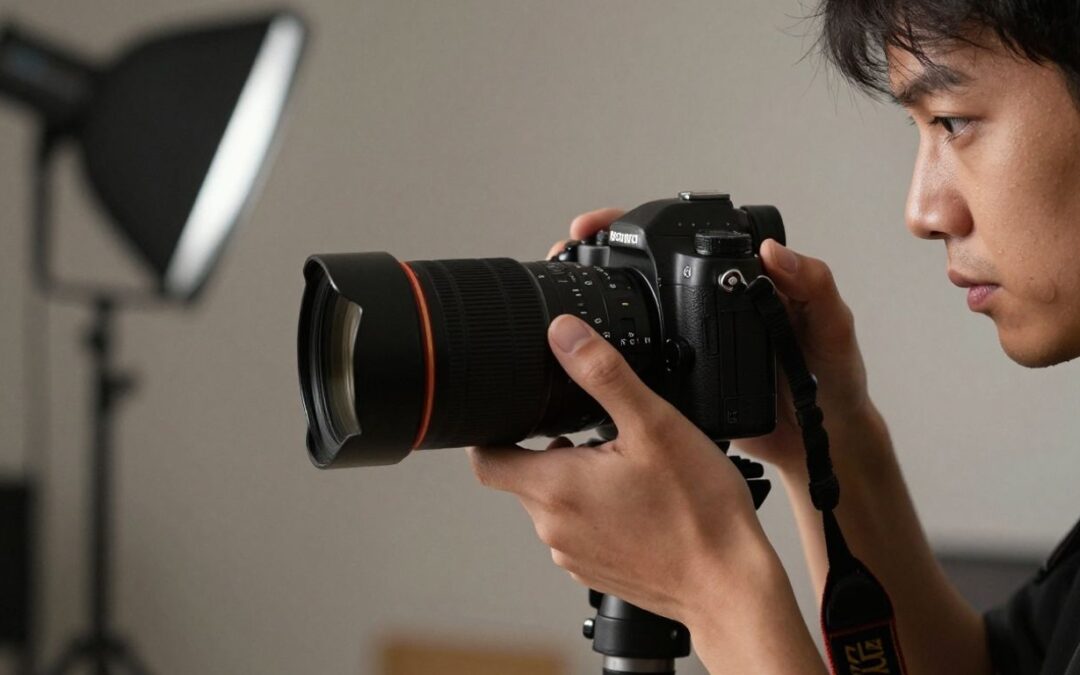
Mastering Your Camera For The Perfect Photoshoot
Getting a grip on your camera is the first big step towards taking photos you’re actually happy with. It’s not about having the fanciest gear; it’s about knowing what your current camera can do and how to make it do what you want. Think of it like learning to drive – you wouldn’t just hop in a car and expect to win a race, right? Same goes for photography. You need to understand the basics.
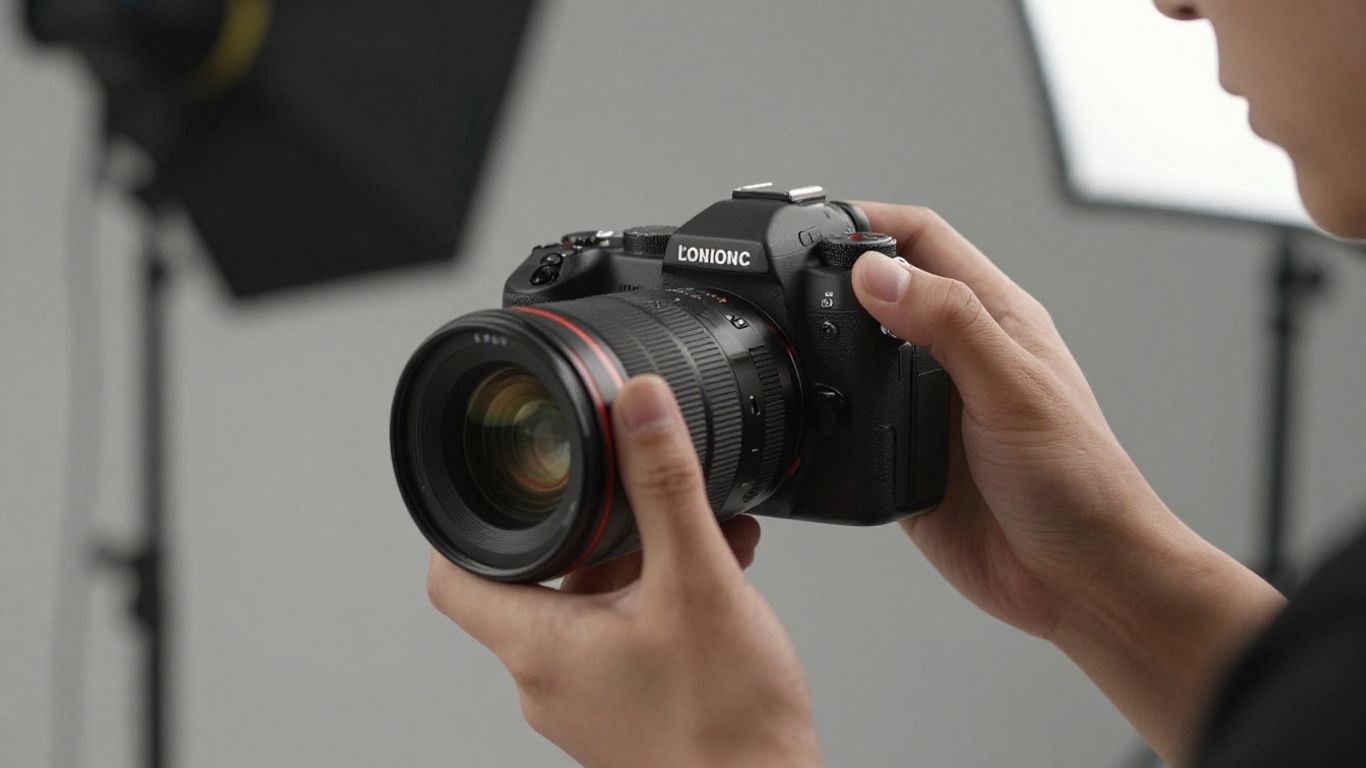
Become BFFs With Your Camera
This is where you get to know your camera inside and out. Forget the auto settings for a bit. You want to understand what makes your camera tick. This means getting familiar with terms like shutter speed, aperture, and ISO. These three settings are the holy trinity of controlling how your photo looks. Learning to use them together gives you the power to decide exactly how your image will be captured. It’s about moving beyond just pointing and shooting and starting to create.
Understanding Essential Camera Settings
Let’s break down those key settings:
- Shutter Speed: This controls how long the camera’s sensor is exposed to light. A fast shutter speed (like 1/1000th of a second) freezes action, while a slow one (like 1 second) can blur movement, creating a sense of motion. It’s also your friend when dealing with architectural photography where you might want to capture sharp lines.
- Aperture: This is the opening in your lens that lets light in. It’s measured in f-stops (like f/1.8 or f/16). A wider aperture (smaller f-number) lets in more light and creates a shallow depth of field, meaning your subject is sharp and the background is blurry. A smaller aperture (larger f-number) lets in less light and keeps more of the scene in focus.
- ISO: This is your camera’s sensitivity to light. A low ISO (like 100) is best for bright conditions and produces clean images. A high ISO (like 3200) is useful in low light but can introduce ‘noise’ or grain into your photos.
Here’s a quick look at how they interact:
| Setting | Effect on Light | Effect on Image |
|---|---|---|
| Shutter Speed | Longer = More | Slow = Motion Blur; Fast = Freeze Action |
| Aperture | Wider = More | Wide = Shallow Depth of Field; Narrow = Deep DOF |
| ISO | Higher = More | High = More Noise/Grain; Low = Cleaner Image |
Achieving Perfect Focus Every Time
Focus is non-negotiable. If your subject isn’t sharp, the photo often falls flat. Most cameras have different autofocus (AF) modes. You’ve got single-point AF, which is great for stationary subjects, and continuous AF, which is better for moving things. You also need to think about where you’re placing your focus point. Don’t just let the camera decide; tell it what’s most important. For portraits, that’s usually the eyes. Getting this right means your subject pops, and the viewer knows exactly where to look. It’s a skill that takes practice, but it’s worth it.
Mastering these settings isn’t about memorising numbers; it’s about understanding the cause and effect. Play around with your camera, take shots, and see what happens. You’ll start to build an intuition for what settings work best in different situations. This hands-on approach is key to truly mastering manual mode.
Don’t be afraid to experiment. The more you shoot, the more you’ll understand how these settings work together to create the look you’re after. It’s a journey, and every photo you take is a step along the way.
Controlling Your Creativity For A Stunning Photoshoot
This section is all about taking the reins and making your camera do exactly what you want it to. It’s not just about pointing and shooting; it’s about understanding the ‘why’ behind your settings so you can consistently get the results you’re after. We’ll look at how to figure out the creative style you’re aiming for first, and then use your camera’s controls to nail that vision. The goal is to stop hoping for a good shot and start creating it deliberately.
The Methodology Behind Camera Settings
Getting a handle on your camera’s main settings is like learning the language of light and exposure. It’s about knowing what each dial and button does and, more importantly, what effect it has on your final image. Think of it as having a conversation with your camera, telling it precisely how you want the scene to look.
Here’s a breakdown of how to approach it:
- Define Your Creative Goal: Before you even touch the camera, picture the final image. Are you going for a dreamy, soft look? Or something sharp and dramatic? Knowing this helps you choose the right settings.
- Understand the Exposure Triangle: Shutter speed, aperture, and ISO are your main tools. They work together to determine how bright or dark your photo is. Messing with one affects the others, so learning their interplay is key.
- Work Backwards: Sometimes, it’s easier to start with the desired outcome. If you want a blurred background, you know you’ll need a wide aperture. Then, you adjust the other settings to get the correct exposure.
- Experiment and Observe: Don’t be afraid to play around. Take the same shot with different settings and see what happens. This hands-on approach builds your intuition.
Dialling In Your Creative Style
Once you grasp the settings, you can start to shape them to fit your unique style. This is where you move beyond just taking pictures to making art. It’s about developing a consistent look that people will recognise as yours. Think about the kind of mood you want to create. Do you prefer bright and airy images, or something more moody and dramatic? Your settings will help you achieve that. For example, a shallow depth of field, achieved with a wide aperture, can make your subject pop against a soft, blurred background, giving your photos a professional feel. This is a great way to build brand identity if you’re shooting for a business.
Capturing Perfect Exposures Consistently
Getting the exposure right every single time, no matter the lighting, is a skill that comes with practice and a solid understanding of your camera. It’s not about luck; it’s about knowing how to read the light and adjust your settings accordingly.
Here are a few pointers:
- Use Your Histogram: This little graph on your camera is your best friend for checking exposure. It shows you the tonal range of your image, helping you avoid blown-out highlights or crushed shadows.
- Master Metering Modes: Different metering modes tell your camera how to measure the light. Spot metering, for instance, is great for tricky lighting situations where you need to expose for a specific part of the scene.
- Learn to Read the Light: Pay attention to where the light is coming from and how harsh or soft it is. This will tell you a lot about what settings you’ll need. For campaign visuals, understanding lighting is key to audience engagement.
Sometimes, the simplest approach is the most effective. Don’t get bogged down in overly complicated techniques if a straightforward method yields the results you want. Focus on the core elements that make a good photograph: composition, light, and subject. If you can master these, your images will speak for themselves.
Remember, the more you practice and experiment, the more confident you’ll become in controlling your camera and bringing your creative vision to life. It’s a journey, and every shot you take is a step forward.
Seeing The Light For Your Photoshoot
Light. It’s pretty much everything in photography, isn’t it? You can have the fanciest camera and the best location, but without decent light, your shots are going to fall flat. So, let’s talk about how to actually see the light and use it to your advantage.
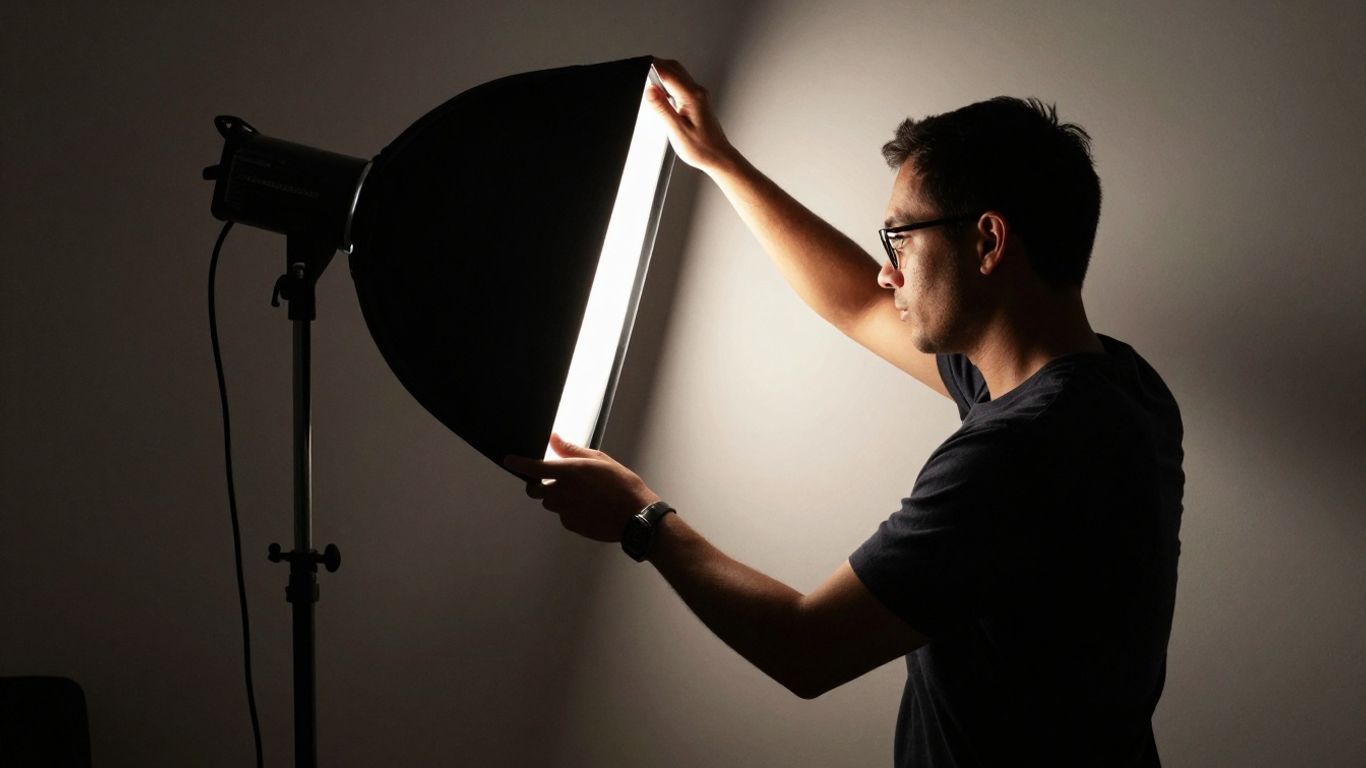
Enhancing Light In Any Environment
No matter where you’re shooting, there’s light. Sometimes it’s great, like that soft, golden hour glow. Other times, it’s less than ideal, think harsh midday sun or dingy fluorescent office lights. The trick is learning to work with what you’ve got. You can learn to make your subjects shine even in tricky spots. It’s about training your eye to notice the quality and direction of light, and then figuring out how to shape it. Sometimes this means finding a window, other times it might involve using a reflector to bounce light back onto your subject.
Flattering Light For Your Subjects
What makes light
Pre-Production Planning For Your Photoshoot
Right, so before you even think about grabbing your camera, there’s a whole heap of stuff that needs sorting. This is the pre-production phase, and honestly, it’s where the magic really starts to happen. Getting this bit right means the actual shoot day is way less stressful and a lot more productive. It’s about laying the groundwork so you can just focus on taking great photos when the time comes.
The Importance Of Pre-Production
Think of pre-production as your blueprint. Without a solid plan, you’re just winging it, and that rarely leads to the results you’re hoping for. It’s where you figure out the ‘what’, ‘why’, and ‘how’ of your shoot. This includes nailing down the concept, understanding your client’s needs (if it’s a client gig), and deciding on the overall look and feel. It’s also the time to sort out any legal bits, like contracts and model releases, which are super important if you’re getting paid. Having these sorted early on protects everyone involved and makes sure there are no nasty surprises down the track. It’s about being professional and setting clear expectations from the get-go.
Creating A Seamless Shooting Environment
Making sure your shooting environment is set up for success is a big part of pre-production. This means thinking about the location, the lighting, and any props or styling you might need. If you’re shooting in a studio, you’ll want to have your equipment ready and know your lighting setup. If you’re on location, you need to consider how you’ll manage the space, especially if other people are around. Sometimes, bringing your own portable lighting or backdrops can make a huge difference. It’s all about minimising potential disruptions so you can concentrate on your subject and getting the shots you need. A well-prepared environment helps everyone feel more comfortable and ready to go.
Location Scouting Essentials
Choosing the right location can seriously make or break your photos. It’s not just about finding a pretty spot; it’s about finding a spot that fits the mood and story of your shoot. When you’re scouting, keep a few things in mind:
- Lighting: How does the light fall at different times of the day? Is it consistent, or does it change too much?
- Background: Is the background interesting but not distracting? Does it complement your subject?
- Access and Permissions: Can you actually shoot there? Do you need permits or permission from the owner?
- Practicalities: Is there parking? Are there facilities like restrooms? Is it safe?
Scouting ahead means you won’t turn up on the day and realise the perfect spot is actually a construction site or completely inaccessible. It saves a lot of headaches and wasted time.
Doing a bit of research beforehand, maybe even a test run with your camera, can save you a lot of hassle. Sometimes, the most unexpected places can offer the best opportunities, so keep an open mind. For commercial work, understanding the visuals that engage consumers is key when picking your spot. You want the location to add to the overall message.
Posing Subjects For A Successful Photoshoot
Getting people to look good in photos can feel like a bit of a dark art sometimes, can’t it? You want them to look natural, relaxed, and like themselves, but often you end up with stiff, awkward shots. It’s not really their fault, most people aren’t professional models. The trick is making them feel comfortable and guiding them without them even realising it.
Communicating With Your Subjects
This is where the magic really happens. Forget just barking orders; it’s all about building a connection. Start with a chat before you even pick up the camera. Ask them about their day, what they like, what they’re nervous about. This helps break the ice and lets you see their personality. Genuine connection leads to genuine smiles.
- Start with simple directions: Begin with easy poses, like standing or sitting naturally. Give them a moment to settle into it.
- Offer gentle guidance: Instead of saying “stand up straight,” try “imagine you’re waiting for a friend” or “lean slightly towards the window.” Small prompts can make a big difference.
- Use positive reinforcement: A simple “great!” or “that looks fantastic” goes a long way. People relax when they know they’re doing well.
The goal is to make your subject forget they’re even being photographed. When they’re focused on the conversation or the environment, you’ll capture the most authentic moments. It’s about creating an experience, not just taking a picture.
Evoking Natural Poses
Once you’ve got them feeling a bit more at ease, you can start to guide them into more dynamic poses. Think about how people naturally move and interact. Instead of a rigid pose, try suggesting an action.
- Movement is key: Ask them to walk towards you, turn their head slightly, or adjust their clothing. Even small movements can make a pose feel more alive.
- Incorporate props: A coffee cup, a book, or even just their own hands can give a subject something to do, making them look more natural. Just be careful the prop doesn’t become the main focus; it should complement your subject.
- Play with angles: Don’t be afraid to shoot from above or below. Sometimes a different perspective can make a standard pose look much more interesting.
Avoiding Common Posing Mistakes
We’ve all seen them: the awkward hand-on-hip, the forced smile, the “deer in headlights” stare. These often come from a lack of direction or making the subject feel self-conscious. A common pitfall is asking someone to “just smile” – it rarely looks genuine. Instead, try to elicit a laugh or a happy thought.
Another mistake is not paying attention to the details. Are their fingers splayed awkwardly? Is their shirt tucked in unevenly? These small things can detract from an otherwise good photo. Also, remember that professional portraits often benefit from a photographer’s eye to guide these details.
Finally, don’t be afraid to experiment. If a pose isn’t working, move on. Sometimes the best shots happen when you least expect them, often when you’ve encouraged your subject to relax and just be themselves.
Post-Production Workflow For Your Photoshoot
So, you’ve nailed the shoot, got all the amazing shots, and now it’s time to make them shine. This is where the magic of post-production comes in. It’s not just about slapping a filter on and calling it a day; it’s a whole process to really bring your images to life and make them consistent with your vision.
Your Editing Workflow From Start to Finish
Having a solid workflow stops you from getting lost in thousands of photos. It’s about having a plan. First up, I always do a quick cull. Go through your shots and get rid of the obvious duds – the blurry ones, the ones with weird eyes, that sort of thing. Then, you can start thinking about the actual editing. This is where you’ll want to shoot in RAW format if you can. RAW files give you so much more wiggle room when you’re tweaking things like exposure and colour balance later on, without losing quality. It’s a bit like having a safety net for your edits.
- Initial Cull: Get rid of the obvious rejects.
- Basic Adjustments: Tweak exposure, contrast, and white balance.
- Colour Correction: Make sure colours are accurate and pleasing.
- Retouching: Clean up any distractions or imperfections.
- Sharpening & Noise Reduction: Fine-tune the final details.
- Export: Save your images in the right format for their intended use.
Deep Dive Into Camera Raw and Photoshop
While there are heaps of editing programs out there, getting friendly with Adobe Camera Raw and Photoshop is a good move. Camera Raw is brilliant for all those initial adjustments – think exposure, highlights, shadows, and white balance. It’s super intuitive and lets you make big changes without messing up the image quality. Once you’ve got the basics sorted, Photoshop is your playground for more detailed work. This is where you can do more advanced colour grading, retouching, and really start to develop that unique look that sets your work apart. It’s about making your photos look polished and professional, giving them that extra edge.
Organising Your Photos Efficiently
This is the part people often skip, but trust me, it’s a lifesaver. You need a system for organising your photos. Whether you use folders on your computer, a dedicated photo management program, or cloud storage, have a consistent method. Naming conventions, keywords, and consistent folder structures will save you hours of searching later on. Imagine needing a specific shot from a shoot you did two years ago – without good organisation, you’re in for a world of pain. A tidy library means you can find what you need, when you need it, and keep your creative energy flowing.
A well-organised digital archive isn’t just about tidiness; it’s about efficiency and accessibility. It ensures that your creative work is readily available, preventing lost time and frustration when you need to retrieve specific images for projects, clients, or personal use. Think of it as the foundation for a smooth and productive workflow, allowing you to focus on creating rather than searching.
Getting your editing workflow sorted is just as important as the shoot itself. It’s where you refine your vision and make sure your final images are exactly what you wanted. Don’t underestimate the power of a good editing process and a solid organisation system; they’ll make your life so much easier and your photos look a whole lot better. For product shots, making sure they’re bright and clear is key, especially for online sales.
Discovering Your Unique Style For Photoshoots
So, you’ve got the camera sorted, you’re getting the hang of the settings, and you can even make people look halfway decent in front of the lens. That’s all brilliant stuff. But what about making your photos yours? What makes someone look at one of your shots and go, ‘Yep, that’s a [Your Name] photo’? That’s what we’re talking about here – finding that special something that sets you apart.
Unlocking Your Personal Style
Honestly, your style isn’t something you can just switch on. It creeps up on you. The more you shoot, the more you’ll notice you’re drawn to certain things. Maybe it’s the way light hits a building, or the expressions on people’s faces when they’re not paying attention. It’s like when I started focusing on street photography, I realised I kept shooting people at work, their routines, that sort of thing. It wasn’t planned, it just happened. You might find yourself doing the same, gravitating towards specific themes without even trying. It’s about looking back at your body of work and seeing what patterns have emerged. Don’t force it; let it grow naturally. It’s about finding what makes you tick and translating that into your images.
What Makes You Stand Out
In a world with a million photographers, how do you not just blend in? It’s about being clear on what makes your perspective different. Think about the little details. Are you amazing at capturing candid moments? Do you have a knack for making even the most awkward person feel comfortable? Perhaps you’re brilliant at using props to tell a story, or maybe your editing gives your photos a really distinct mood. It’s not just about the technical stuff; it’s about your personality shining through. For instance, if you’re great at making people laugh, that’s going to show up in your photos. It’s about leaning into those strengths. You might even find that focusing on specific subjects, like lifestyle campaigns, helps define your niche.
Developing a Consistent Aesthetic
Once you start seeing those patterns and understanding what makes you unique, the next step is making it consistent. This means your photos should feel like they belong together, even if they’re from different shoots. It’s about having a recognisable look and feel. This could be through your colour palette, the way you compose your shots, or your editing style. For example, if you love warm, golden hour light, try to incorporate that whenever possible. Or if you prefer a more minimalist approach, stick to clean backgrounds and simple subjects. Consistency builds recognition. It helps people know what to expect from you and builds trust. It’s like having your own visual language. You can even start by organising your photos into thematic groups, like ‘uniforms’ or ‘dogs in strollers’, to see how they work together visually. This helps you plan future shoots and maintain that cohesive look.
Your style is your signature. It’s the unique way you see and interpret the world through your lens. Don’t be afraid to experiment, but always keep an eye on what feels authentic to you. That’s where the magic happens.
Think about what kind of feeling you want your photos to evoke. Are they meant to be energetic and fun, like some of the dating app profile prompts suggest, or more serious and reflective? Whatever it is, make sure it’s coming through in every shot. This consistency is what will make your work memorable.
Conclusion
So, there you have it. Taking amazing photos isn’t just about having a fancy camera or being in the right place at the right time. It’s about understanding your gear, seeing the light, planning your shots, and knowing how to work with people. Plus, a little bit of editing magic goes a long way. By putting these tips into practice, you’ll be well on your way to creating photoshoots you’re truly proud of. Keep shooting, keep learning, and most importantly, have fun with it!
Frequently Asked Questions
What are the most important camera settings for a photoshoot?
You’ll want to get friendly with your camera’s shutter speed, aperture, and ISO. These three settings work together to control how light hits your camera’s sensor, which affects how bright your photo is and how things look, like whether the background is blurry or sharp.
How do I make sure my photos have good lighting?
Think about where the light is coming from. Soft light, like on a cloudy day or near a window, is usually best for making people look good. You can also use simple tools like reflectors to bounce light back onto your subject and fill in shadows.
Why is planning before a photoshoot so important?
Planning helps you know what you want to get out of the shoot. It’s like having a map! You can think about the style, the location, the mood, and even what your subject will wear. This makes the actual shooting day much smoother and less stressful.
How can I get my subjects to pose naturally?
Talk to your subjects! Make them feel relaxed and comfortable. Instead of telling them exactly what to do, give them prompts like ‘walk towards me’ or ‘look at each other.’ Often, the best poses happen when people are just being themselves.
What’s the first step in editing my photos after a shoot?
After you’ve taken your photos, the first step is usually to go through them and pick the best ones. Then, you’ll start editing them, maybe using software like Photoshop or Camera Raw, to adjust colours, brightness, and fix any small issues. It’s all about making your good photos even better.
How do I find my own photography style?
Your style is what makes your photos unique. Think about what kind of photos you love looking at and what you enjoy taking. Try different things, see what feels right, and be consistent. Over time, your personal way of seeing and shooting will become clear.